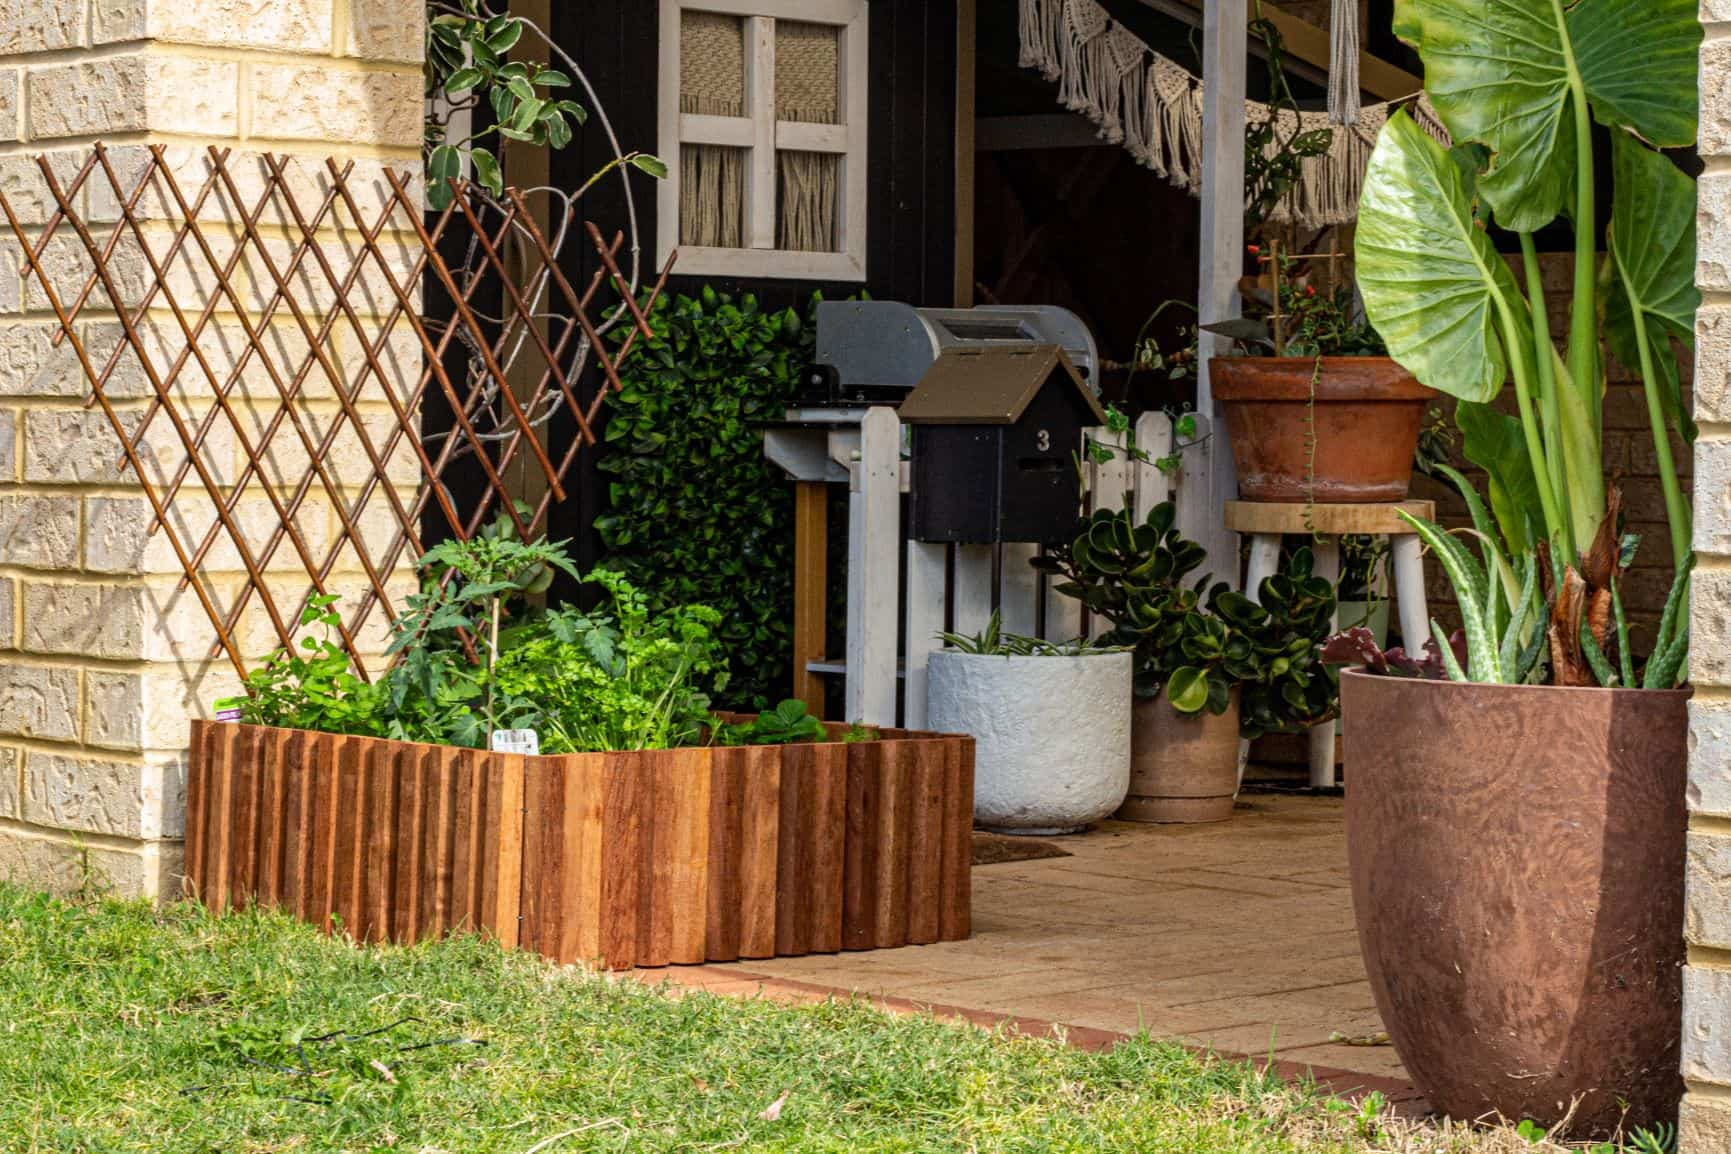
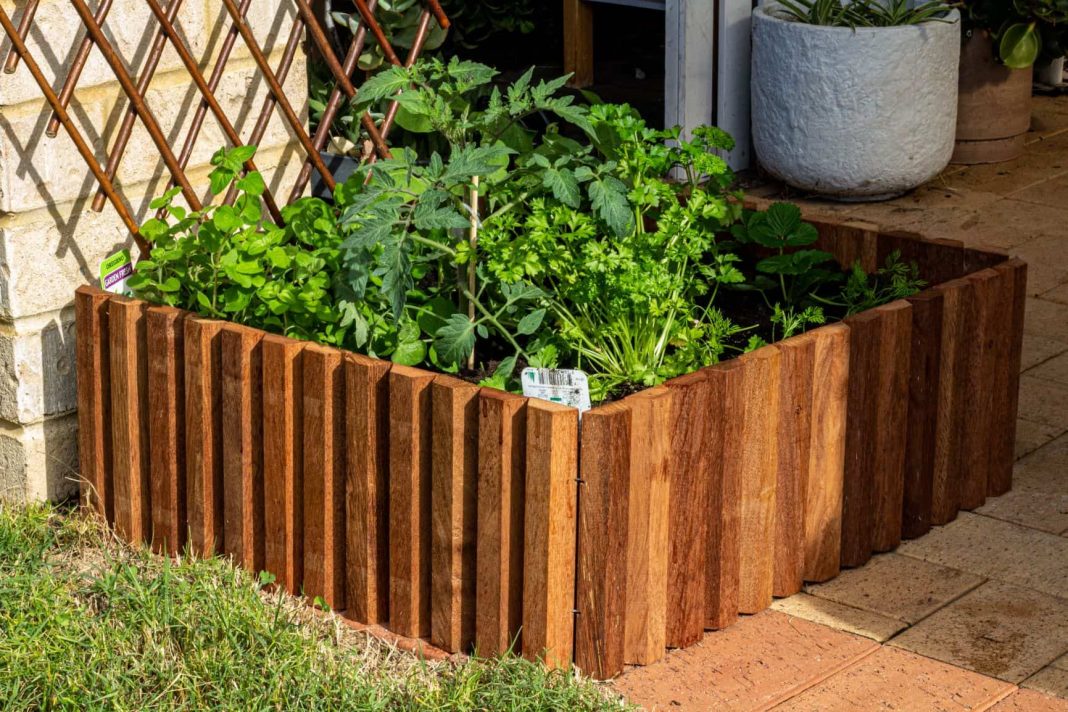
Get the kids out into the garden these school holidays with a fun DIY activity! While warm weather is still a long way off, Zoe Gilpin from the @thediydecorator has created a step-by-step guide on how to make a DIY planter box to get ready for spring and to help develop new skills including responsibility, discovery and creativity. Grab some glue and get gardening!

What you need
Gorilla Glue Clear Grip
4 x timber lengths cut to size of preference
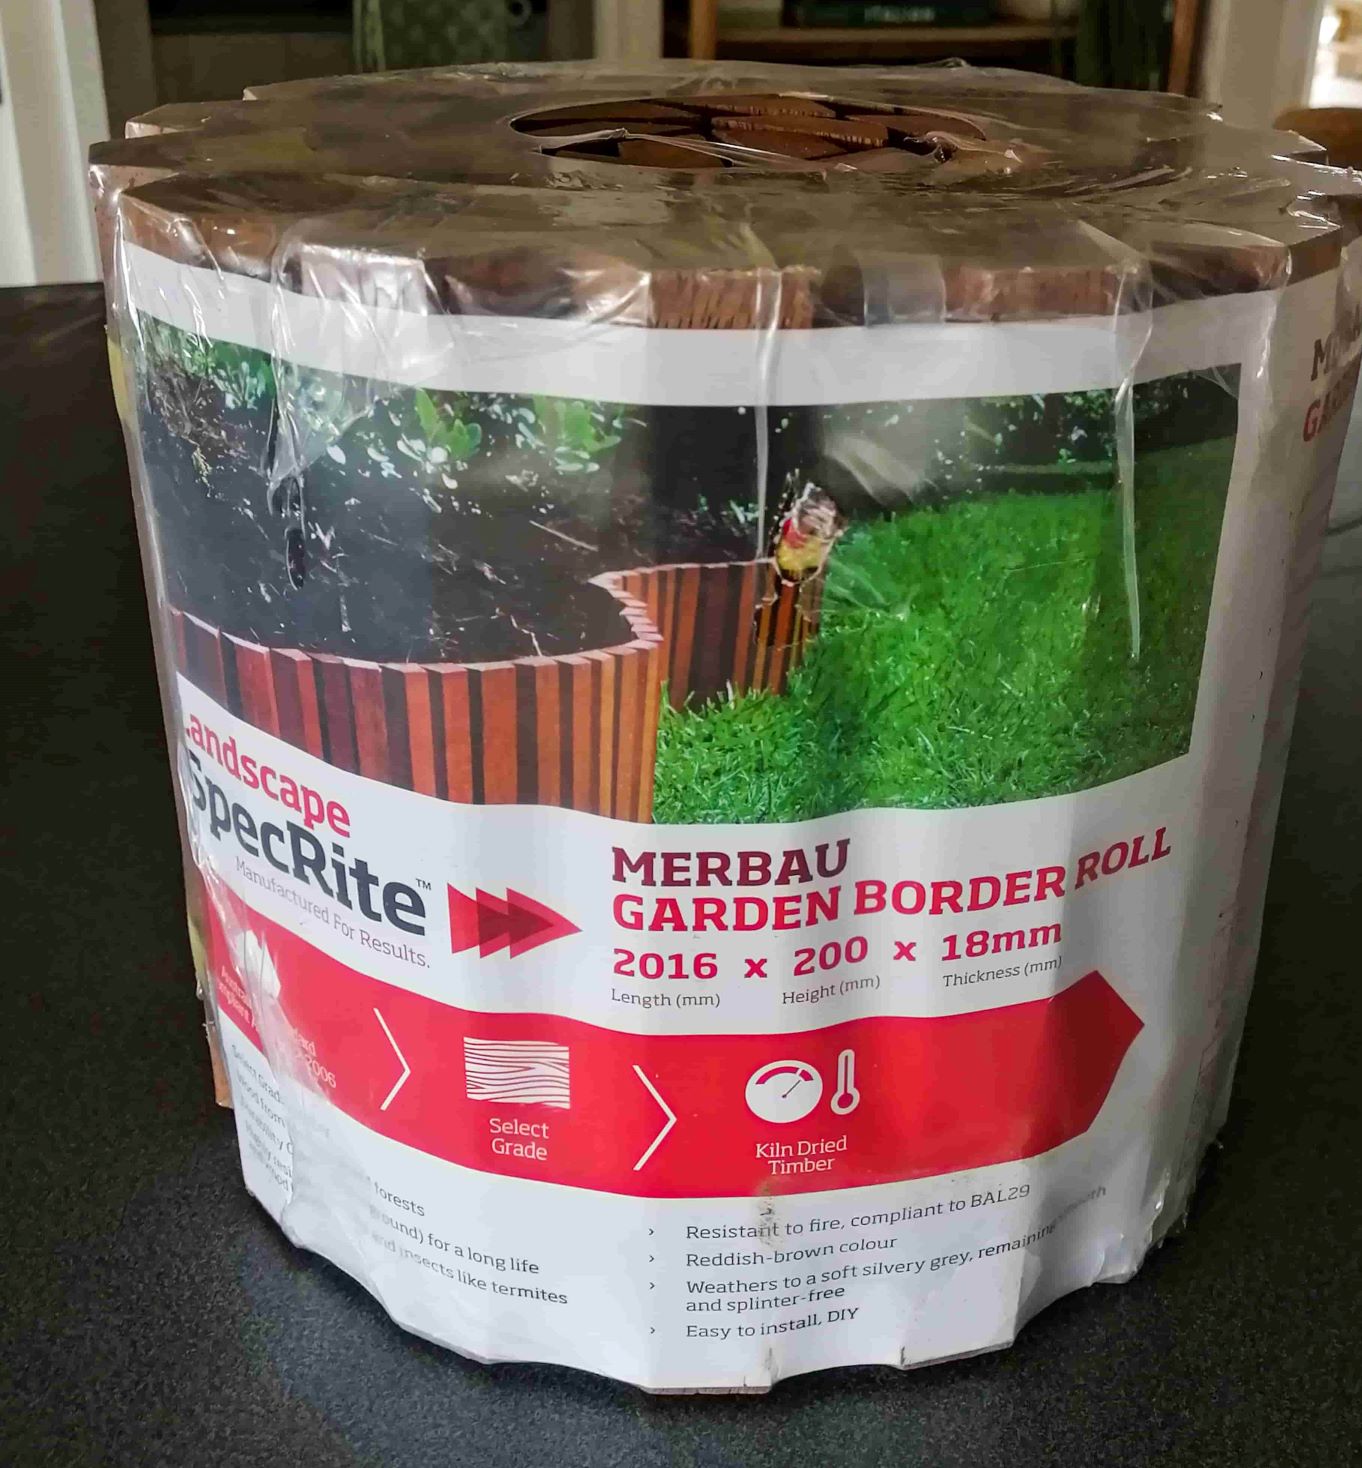
Timber garden border roll
Masking tape
Clamps
Weed mat
Soil
Plant/vegetables/herbs of choice
Lattice plant support (if required)
Activity steps
1. Start by positioning your four timber lengths to make a square.

2. Glue in place with Gorilla Glue Clear Grip at each corner, holding tightly together with masking tape until completely dry.
3. Then glue the timber slat garden to your box, ensure the length of the border is straightened out so it sits nicely against the timber.
4. Apply Gorilla Glue Clear Grip to the timbers and press together, clamping in place. Work section by section clamping as you go and giving the glue adequate time to set to ensure a strong bond.
5. Once you have made your timber square, measure, cut and insert the black weed matting across the bottom, gluing in place to the inside of the box again with the Gorilla Glue Clear Grip.
6. Once dry, add in your soil and plants and lattice, if required.
Gorilla Glue products are available at Bunnings, Mitre 10 and Spotlight stores nationally.
For more information, visit gorillaglue.com.au


