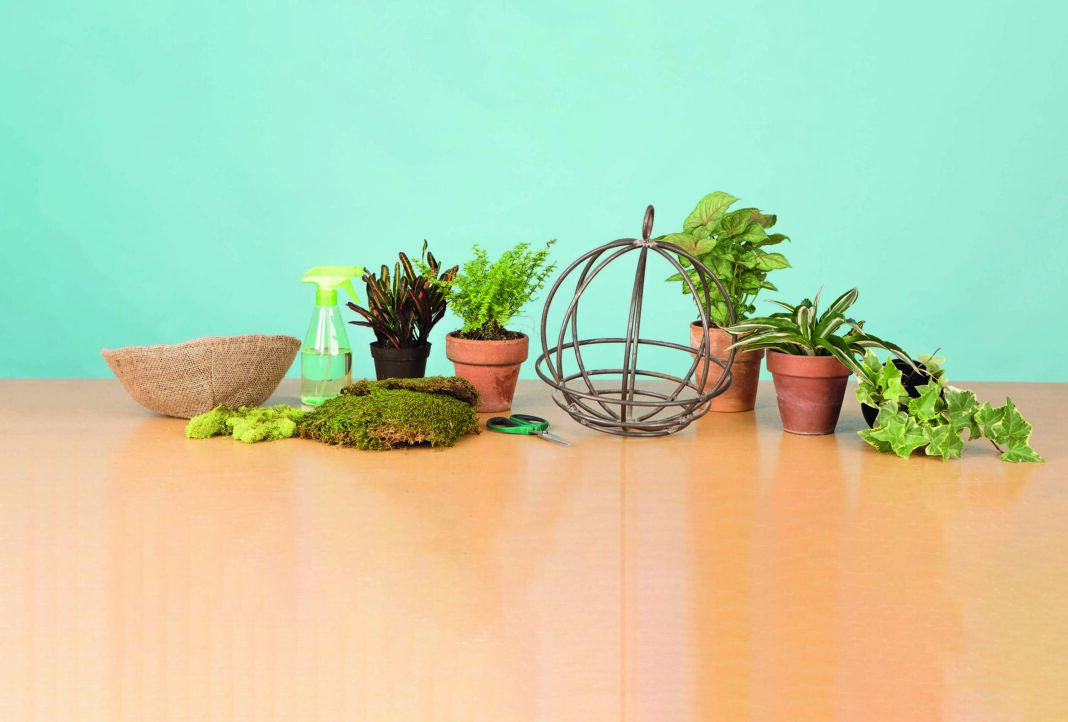
The botanical trend is blooming – so why not bring the outdoors in with this simple DIY project.
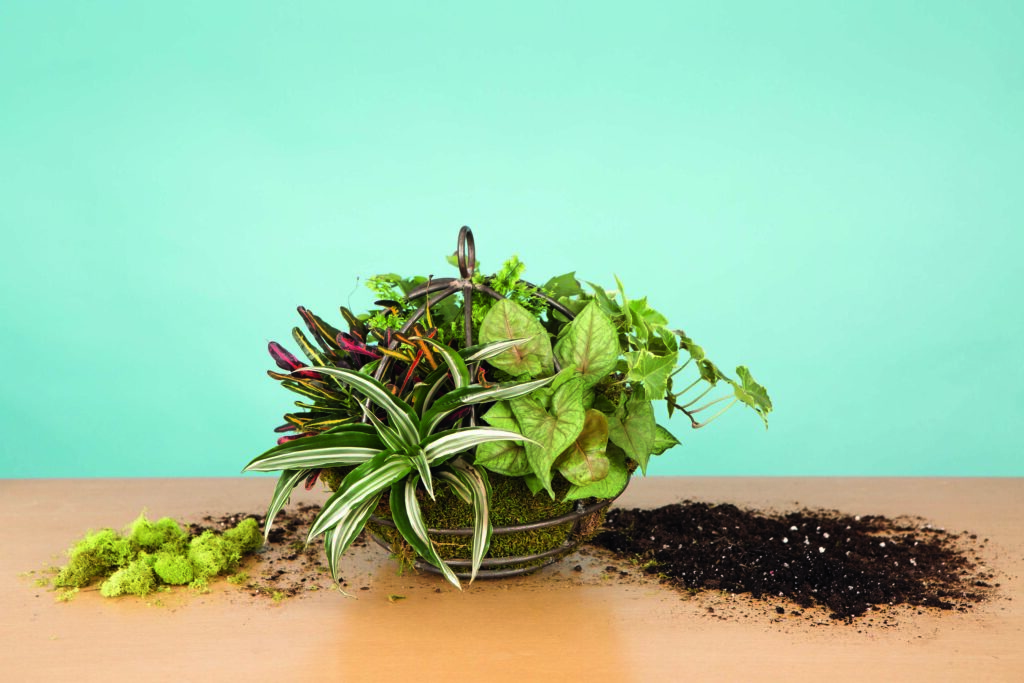
Hanging wire chandelier
Before you start, play with the arrangement of plants on a table until you are satisfied with how they look. You may choose the most vibrant of the group to create a focal point that will bring your eye to the centre.
Materials
- Wire holder
- Liner (natural jute, coco fibre)
- Sheet moss (green, dried and preserved)
- Potting soil, houseplant variety
- Water mister
- Scissors
- Loose reindeer moss
- Gardening gloves (optional)
Plant selection
- Dracaena warneckii
- Croton
- Hedera helix (English ivy)
- Nephrolepis exaltata (ruffle fern)
- Nephthytis (arrowhead)
Method
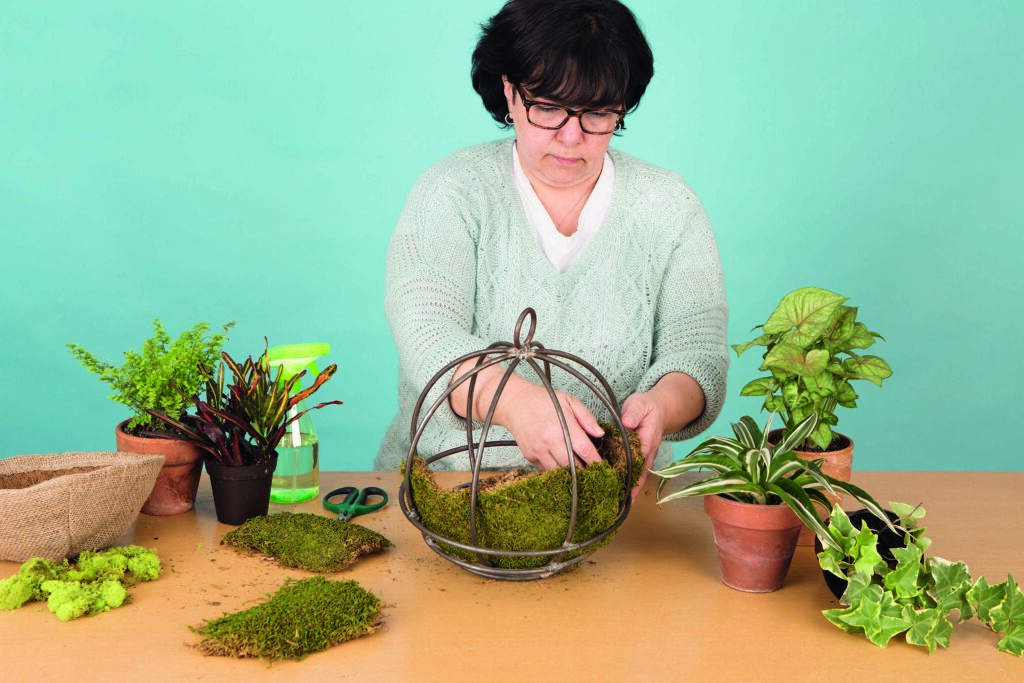
1. After gathering your materials, begin to layer the larger pieces of sheet moss into the wire cage. This will hide the liner and give the arrangement a greener look. Push it up against the wire so as not to leave any spaces.
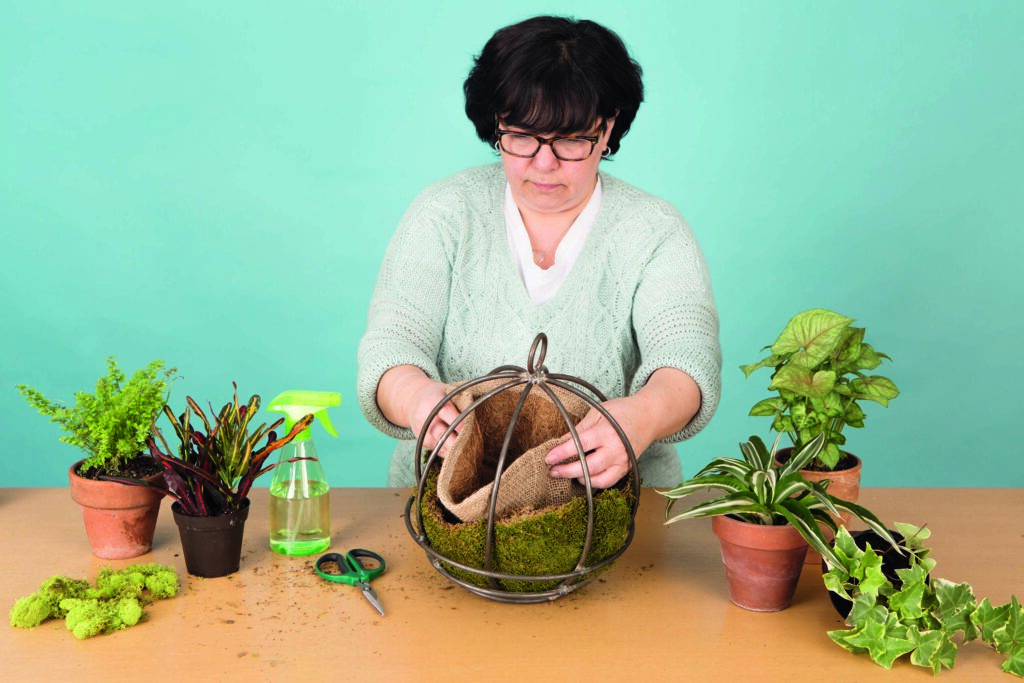
2. Fold the jute liner so it slides through the wire opening, and then slowly open it in place before you place it onto the moss. This is an important step to be conscientious while doing, because once you add soil and plants, it will be difficult to move. So, make sure it sits securely on the moss and is adequately hidden from view.
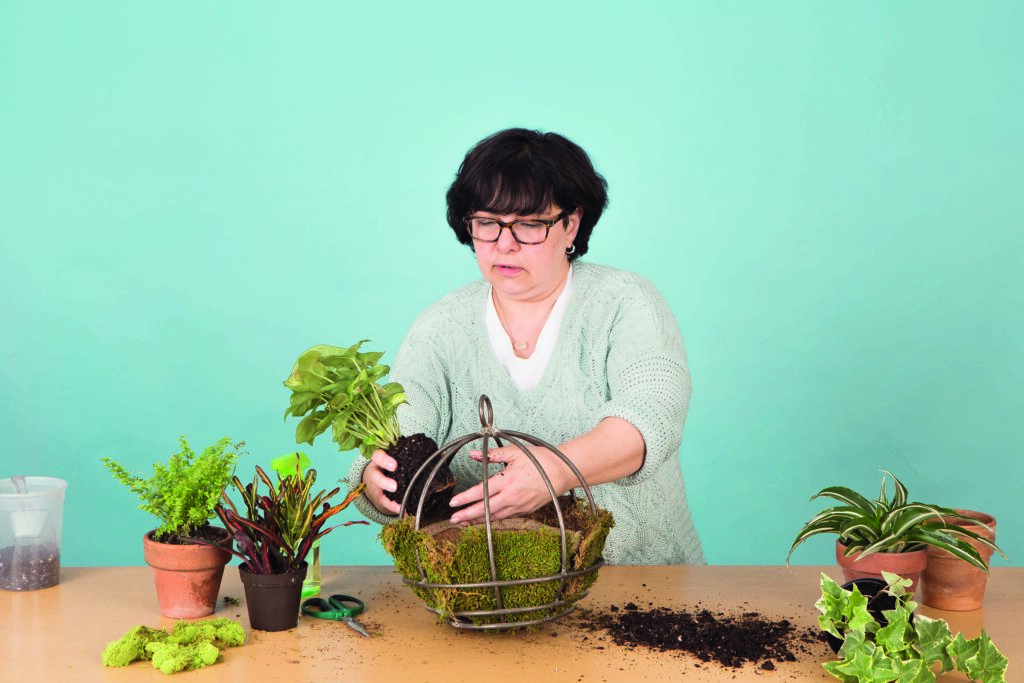
3. It is crucial that you place the plants in the exact place you want them to end up. As you pull your plants out of their pots, you may shake off some of the soil to make the rootball smaller, especially if you cannot fit it through the open space. If there are lots of thick roots, simply snip and prune some off; there are plenty of roots for the plant to survive if you trim off a few. You can also squeeze or compress the rootball with your hands to further reduce its size to fit into the open slot.
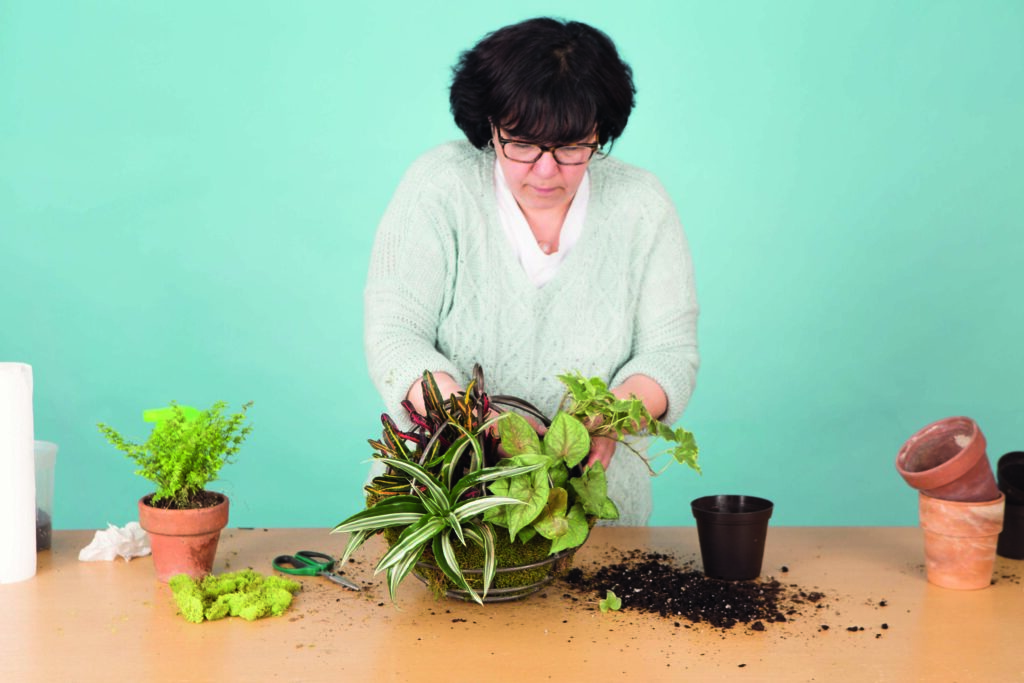
4. As you continue to build your arrangement one plant at a time, tilt some of the plants to show them off as your focal point. First, put the plant into the space and then gently tilt the rootball on its side. Pull gently on the leaves so they are outside the wire cage. It is a bit of a manual challenge. As you see the grouping getting fuller with each additional plant, you will be adding the taller plants centrally in the cage, so they will be seen above the shorter outer foliage.
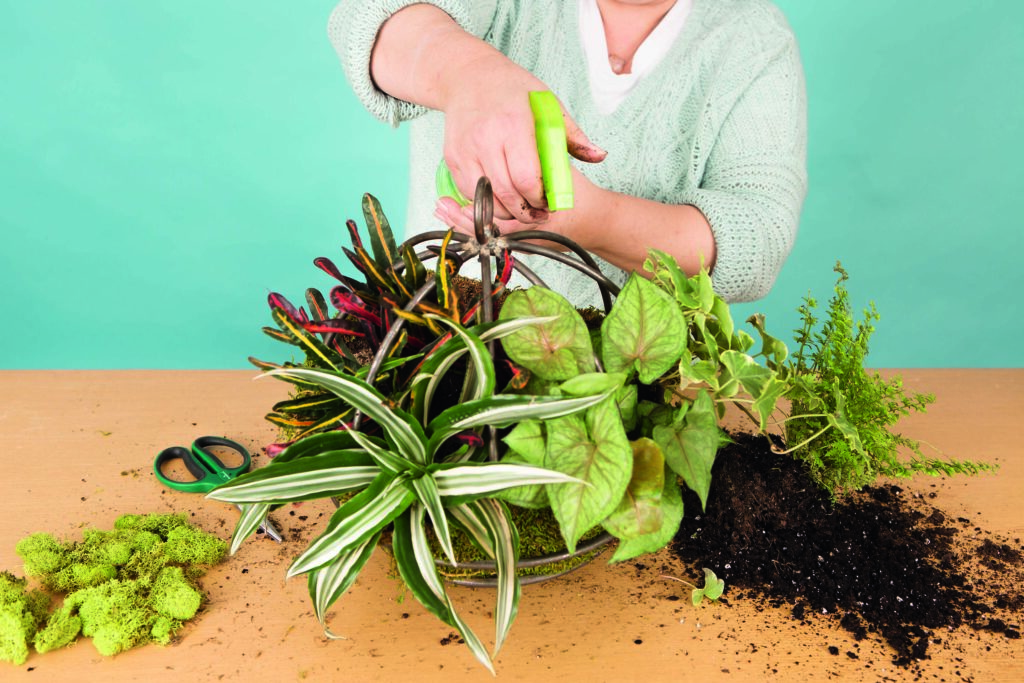
5. Make sure each plant has been adequately watered before placing it in the wire cage. We do not want to add unnecessary amounts of water. As you add each plant, you can give the soil a shot of moisture with the water mister. Misting further compacts loose soil and ensures the plants have enough water. Then, at completion, you do not have to do any watering for at least a week.
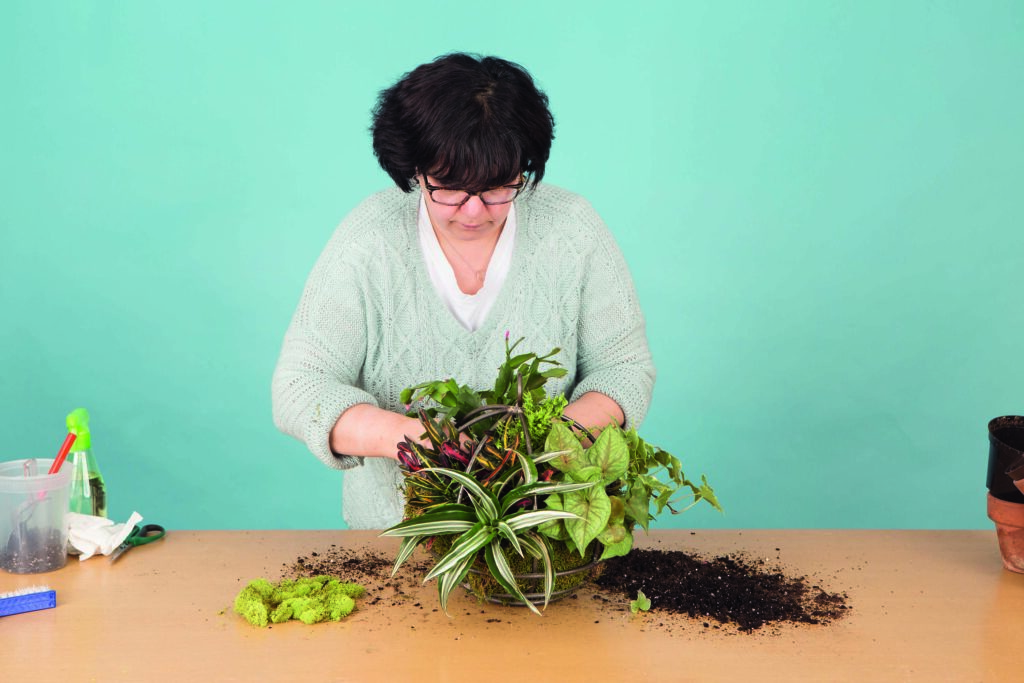
6. The arrangement is beginning to fill out and look dramatic. Fill in the back of the planter with green foliage to make a full and healthy-looking hanger. You might find that you have to remove some soil and roots from each individual plant you add so they all can fit into the cage.
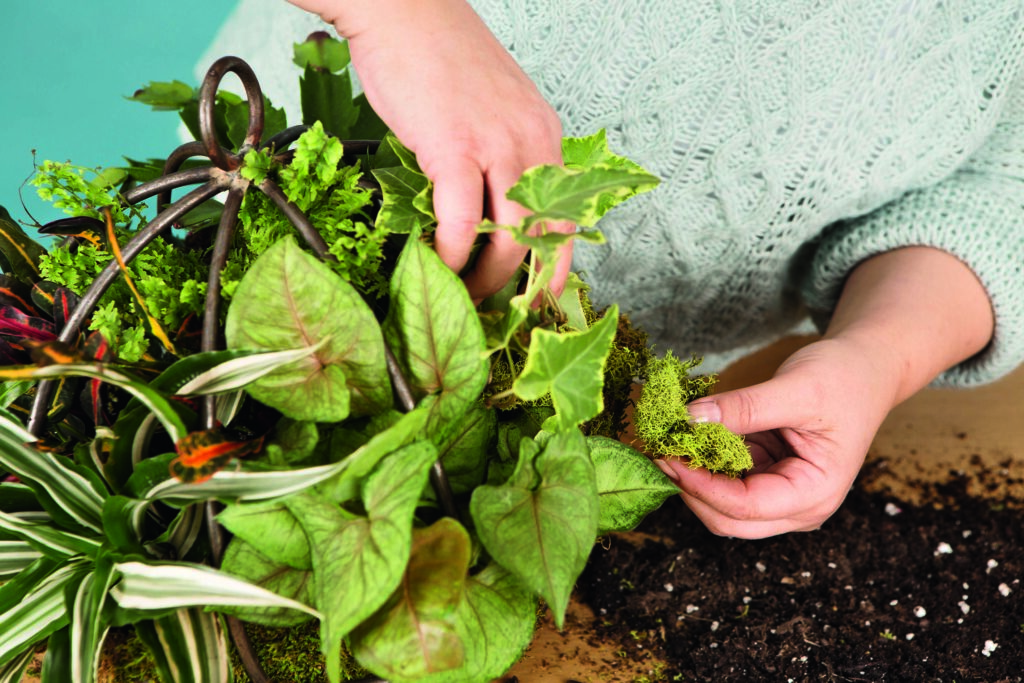
7. If you find that you have empty spots or spaces, you can fill them in with bits of moss. You really don’t have to add any moss if the plants you have chosen cascade over the rim of the insert and sheet moss, hiding any empty spaces there might be.
8. Your chandelier should stay rather wet longer than potted plants because there is no drainage. You can add water to plants individually if the soil around one is wet and another seems drier. Poke your finger into the soil throughout to get a sense of its moisture level. Then use your mister and shoot streams of water around those plants that need a drink.
9. There you have it, your bundle of plant perfection. Watch it the first few weeks and try to figure out when it needs water. Check to see that all plants are secure and take time to admire your design. Now all that is left to decide is where to hang your creation!
This is an edited extract from Living Décor: Plants, Potting and DIY Projects – Botanical Styling with Fiddle-Leaf Figs, Monsteras, Air Plants, Succulents, Ferns, and More of Your Favorite Houseplantsby Maria Colletti; Murdoch Books, hardcover $34.99.
More stories:

