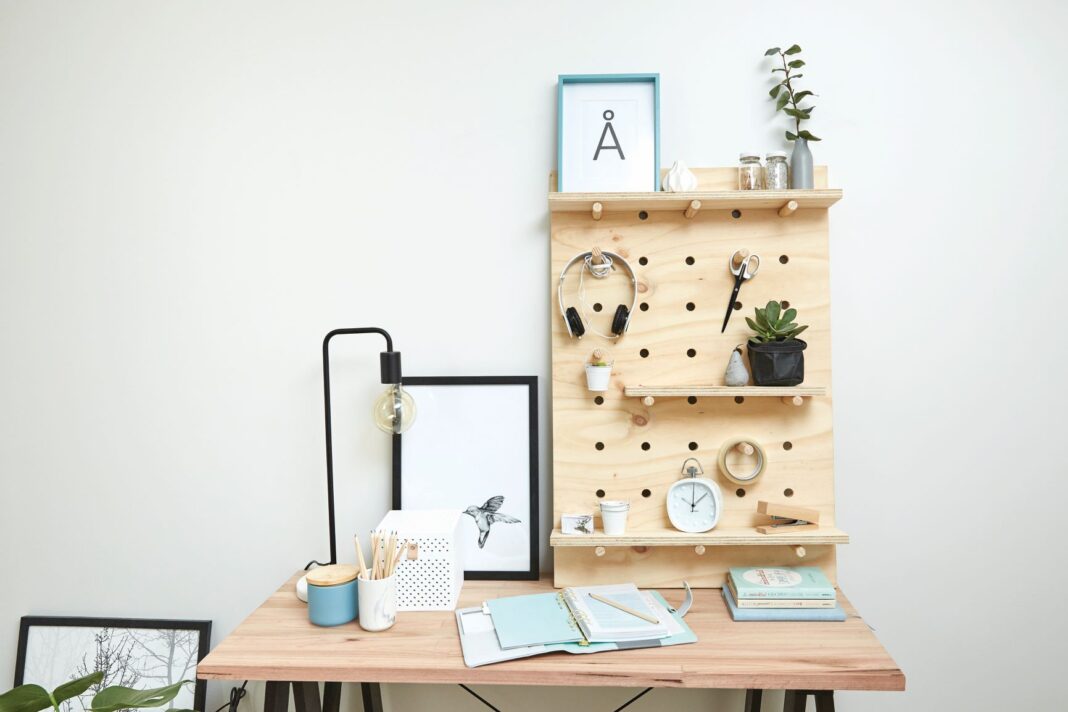
This pegboard shelf is a great project to help you declutter your home office or study desk. It’s easy to make, looks great and the pegs and shelves can be moved around to give it a different look to suit your needs.
What you need
- Tools
- Circular saw
- Clamps
- Combination square
- Cordless drill
- 19mm spade bit
- Drop saw
- Earmuffs
- Hammer
- Measuring tape
- Orbital sander
- Pencil
- Safety glasses
- Spirit level
- Work gloves
Materials
- 1200mm x 600mm x 19mm ply project panel
- 19mm pine dowel
- 120 grit sandpaper
Steps
- Pre-cut the timber to size. For this project, the ply was cut to 900mm x 600m for the backboard with offcuts used for the shelves.
- Mark and drill holes. Mark out a grid on the ply for your dowel positions. Here the grid was laid out in 100mm squares. Then use a level to draw the lines for the grid formation. The intersecting points on the grid are where you will drill for the pegs. Clamp the ply to the workbench and use the spade bit to drill into the intersections on the grid for your pegs. Drill only until the spade bit pierces the other side, then turn the board over and complete the holes.
- Measure, mark and cut the dowel. Here the pegs are 115mm long but you can make yours any size you like. Use the drop saw to cut the dowel where you’ve marked. Make sure you’re wearing your safety equipment when using the drop saw.
- Cut the shelves. Here the shelves were made the same width as the pegs when they’re inserted into the backboard; two shelves measured 600mm x 95mm and one at 450mm x 95mm. After measuring and marking your ply, clamp it to the workbench and cut it with the circular saw.
- Sand the timber. Give everything a light sand to remove any rough edges. Use the orbital sander with a 120 grit pad on the backboard. Then sand the edges of the ply and dowel holes by hand with 120 grit sandpaper.
- Insert the pegs. Now you can customise your pegboard by placing the pegs wherever you like. Insert the dowel for the shelves and use a hammer to tap them in. You can also add some other pegs to use as hangers. This pegboard was left natural but you can paint or stain to match your décor.
Project and images courtesy of Bunnings.
More stories:


