It’s wedding season, Canberra! Love is in the air, couples are saying ‘I do’, and knots are being tied all around. If you’re about to become a newlywed and looking for sustainable DIY wedding ideas to make your big day memorable, Bunnings shares with CW all the inspiration you need.
PETAL CONFETTI

What you’ll need
- Craft paper rope
- Two fence posts
- Mallet
- Mini craft pegs
- Paper cones
- Rose petals
- Safety equipment
- Spray paint
- Spray paint primer
Instructions
- Wear a mask and gloves and work in a well-ventilated area to apply spray primer onto the fence posts and leave to dry. Then apply two coats of spray paint, leaving to dry after each.
- Position the posts about a metre apart and tap them at least 150mm into the ground with a mallet.
- Thread craft rope between the holes of the posts, and knot. Fill the paper cones with petals and attach to the ropes with mini pegs.
Pro tip: Rose petals are an eco-friendly alternative to foil or paper confetti.
FLORAL PHOTO WALL
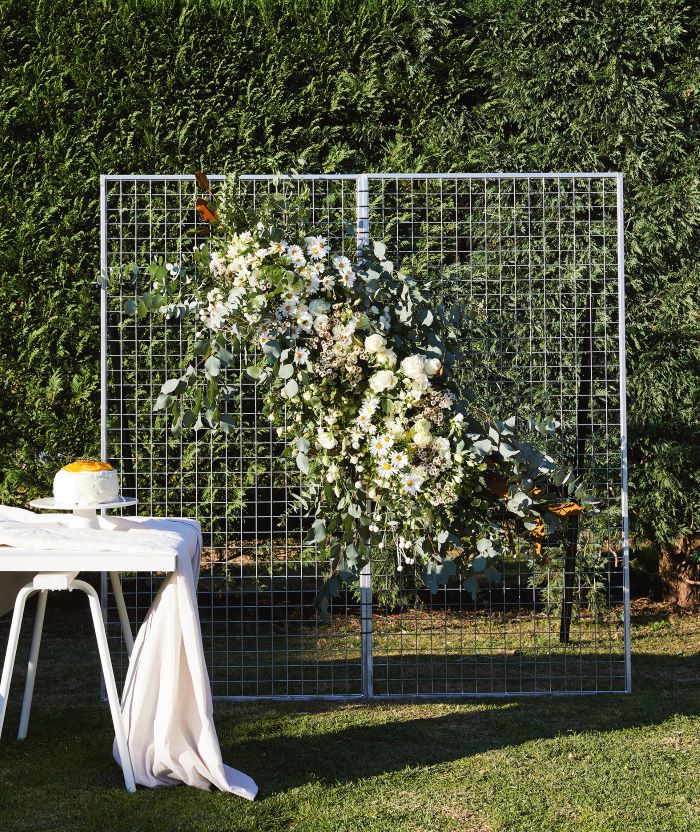
What you’ll need
- 1800mm x 900mm wire mesh panels x 2
- 200mm x 4.6mm black cable ties
- 240cm black fence posts x 2
- Flowers and foliage
- Mallet
Instructions
- Attach the wire mesh panels together vertically using cable ties.
- Drive the fence posts into the ground in position using a mallet and prop the panels against them.
- Secure panels to the fence posts using cable ties threaded through the top holes.
- Thread flowers and foliage through the mesh, grouping together densely for maximum impact. For a really packed floral display, attach florists’ foam bricks to the panel with cable ties, then insert flowers into the foam bricks.
LEAFY NAME CARDS
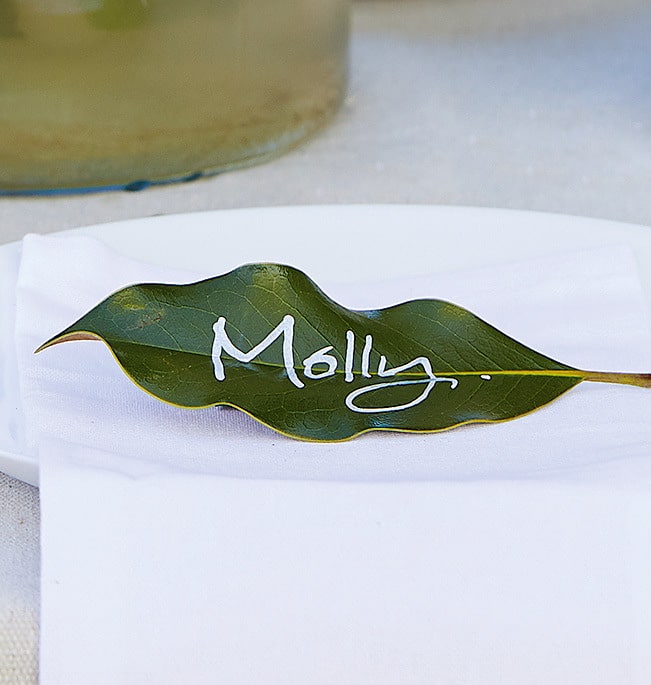
What you’ll need
- Leaves (we recommend magnolia leaves)
- White Sharpie paint marker
Instructions
- Write each guest’s name on a leaf with the white marker.
A GRAND ENTRANCE
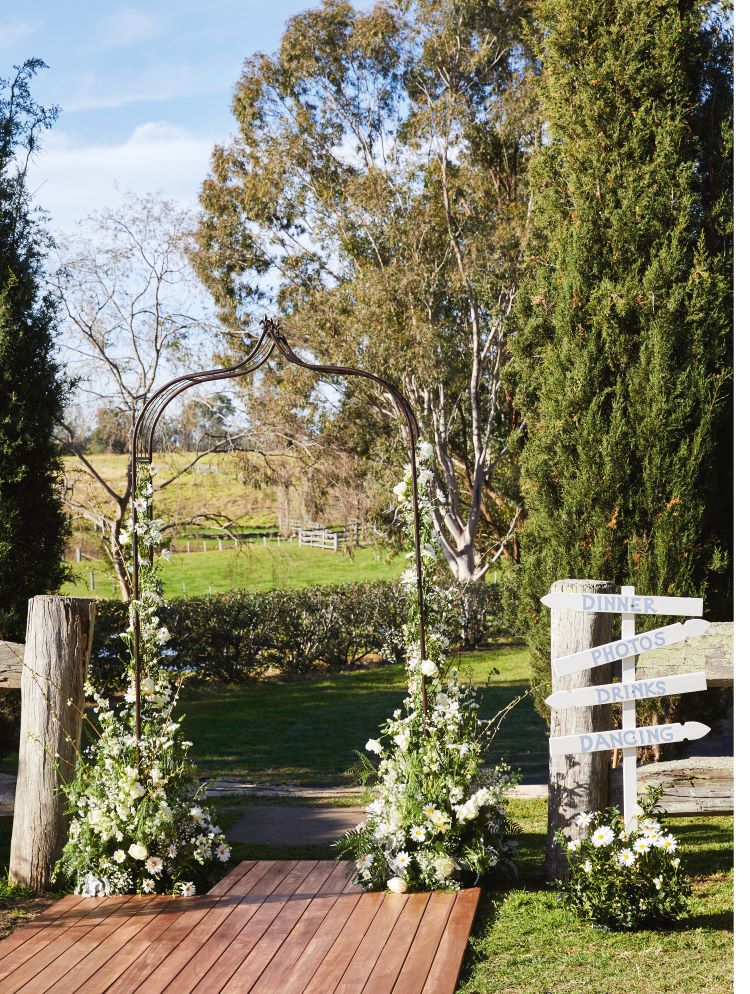
What you’ll need
- Garden arch
- Florists foam bricks
- Florals of your choice
Instructions
- Thread single stems through the sides of the arch.
- Pack blooms into florists’ foam bricks to devise a beautiful floral base.
WELCOME TO THE AFTER-PARTY
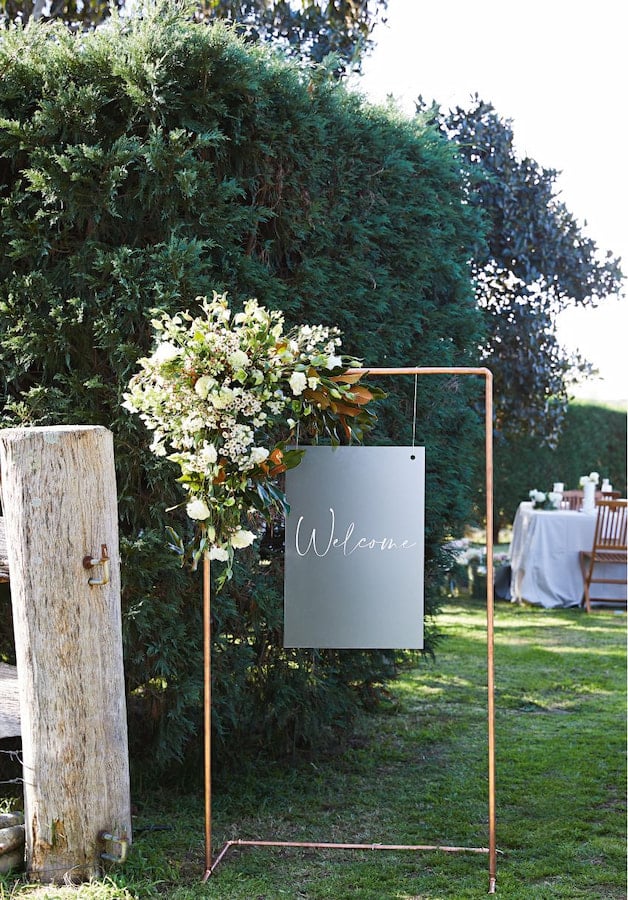
What you’ll need
- 1.5m x 19.05mm copper pipes x 4
- 20mm copper 90-degree elbows x 4
- 20mm copper capillary end caps x 2
- 20mm copper capillary tees x 2
- Lightweight sign and hanging wire
- Safety equipment (mask, eye and ear protection)
- Tape measure and felt-tip pen
- Tent pegs
- Tube cutter – we used the Irwin enclosed feed tube cutter
Instructions
- Keep two full-length pipes aside for the uprights. Use a tube cutter to cut one pipe in half to make the top and base rails.
- To complete the base, cut the other pipe into two 250mm front supports and two 350mm back supports.
- Use elbows to connect the top rail to the uprights. At the bottom of the uprights, use tees to connect back supports, then add elbows to join them with the base rail.
- Attach front supports to the tees and add caps to the ends. Position the stand with tent pegs around the base to keep it secure, then hang the sign with wire.
PICKET DIRECTION SIGN
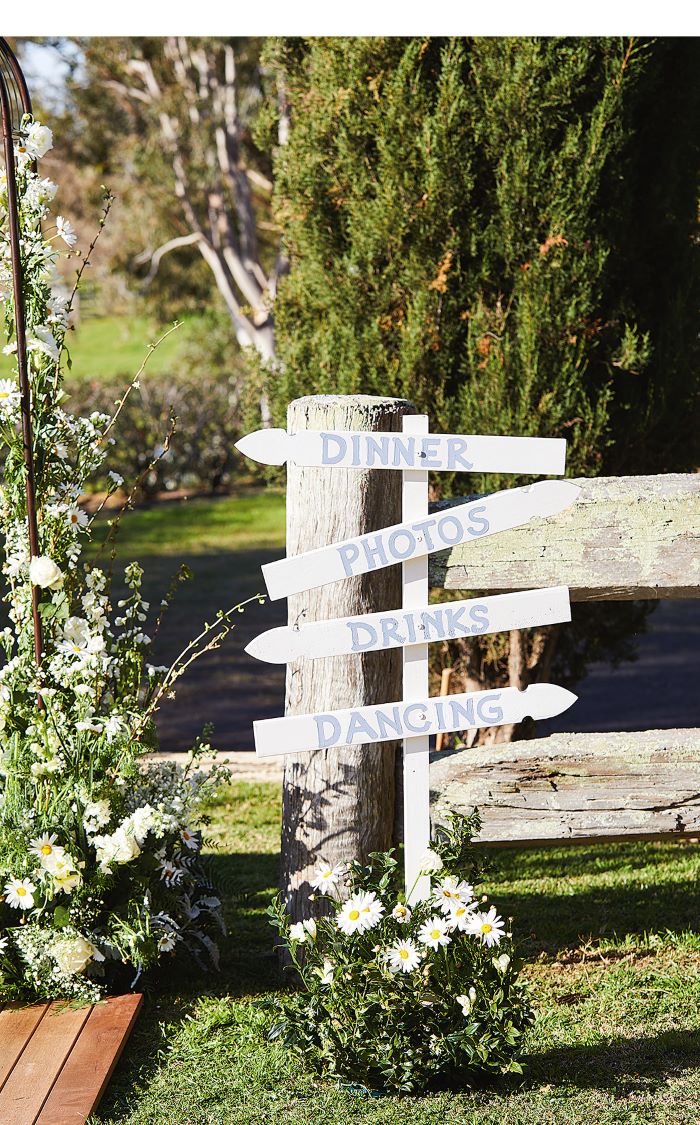
What you’ll need
- 3mm drill bit
- 30mm timber screws
- 42mm x 19mm x 1.2m DAR pine
- 50mm paintbrush
- 65mm x 19mm x 0.9m fence pickets x 4
- Contrasting exterior paint
- Craft brush
- Drill with driver bit
- Mallet
- Pencil
- Safety equipment
- Self-priming exterior paint
Instructions
- Paint the pine and pickets all over with two-in-one paint using a 50mm brush and leave to dry.
- Mark out the lettering on pickets in pencil, then trace over it in contrasting paint with a craft brush and leave to dry, applying a second coat if needed.
- Centre the pickets over the pine, drill pilot holes with a 3mm bit, and secure with 30mm screws.
- Touch up the screw heads with paint. Tap the pine at least 150mm into the ground with a mallet.
Get all the latest Canberra news, sport, entertainment, lifestyle, competitions and more delivered straight to your inbox with the Canberra Daily Daily Newsletter. Sign up here.

