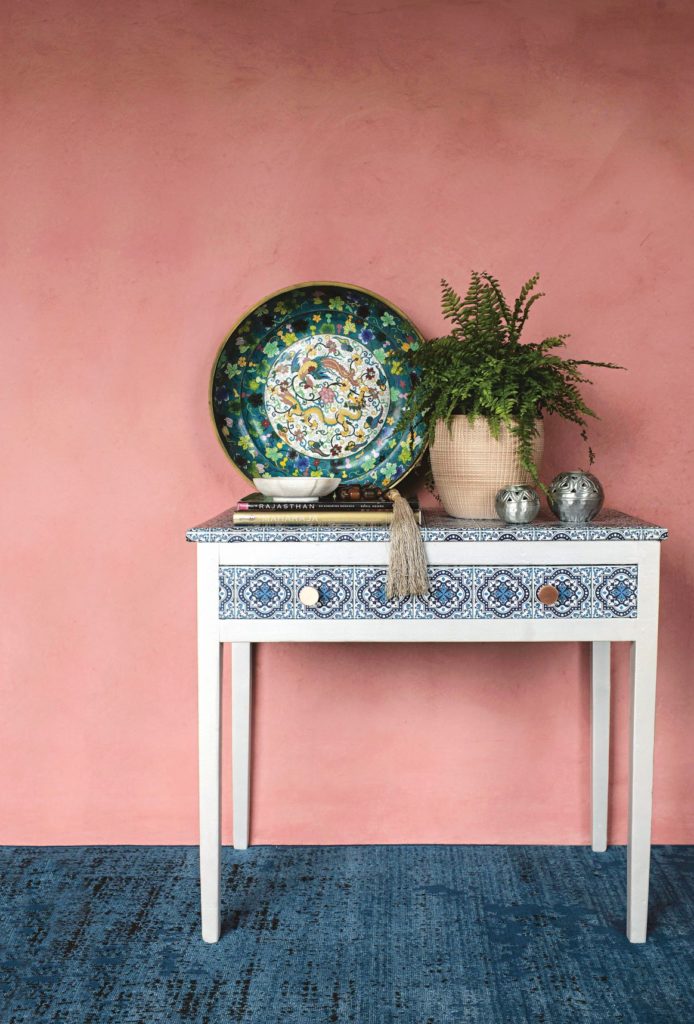
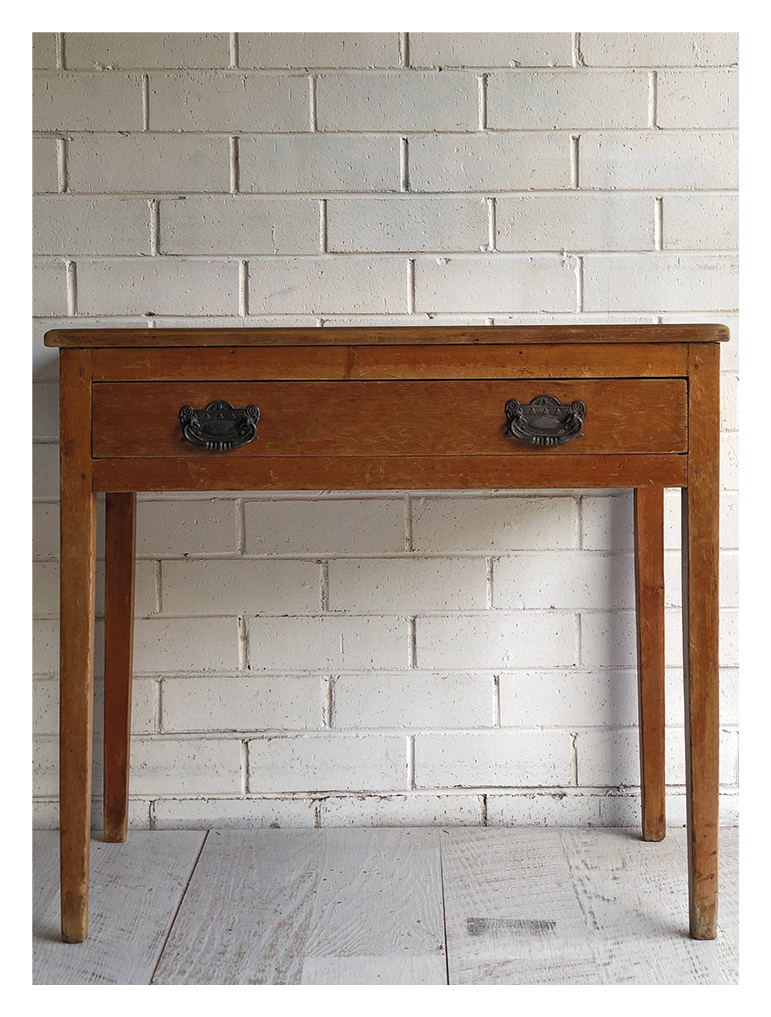
Revive your tired timber console by giving it a Moroccan inspired makeover with this project courtesy of Bunnings. Photographer: Brigid Arnott. Stylist: Rachel Peters.
Tools and materials
Safety equipment
- Small screwdriver
- Uni-Pro Cork sanding block
- Uni-Pro 50mm sash cutter paintbrush
- Uni-Pro 100mm micro-fibre kit
- General-purpose scissors
- Pure-Line 75mm wall scraper
- Utility knife
- Craftright multi-grip pliers
- Craftright combination pliers
- Drill with 4.5mm drill bit
- Polyfilla timber filler
- Sandpaper in 120- and 180-grit sheets
- Rags In Bags white cloths
- Zinsser 1L Bulls Eye 1-2-3 Undercoat Primer-Sealer
- Dulux 500ml Design Pearl Effect Paint
- 2 x rolls of Boyle Self Adhesive Film in Vintage Blue Tiles
- Bondall 300g Monocel Clear Wood Varnish in Satin
- 2 x Prestige 32mm round flat knobs in Brushed Copper
Method
Take out the drawer and remove the handles. Check that other screws in the console are tight, such as those around the joint.
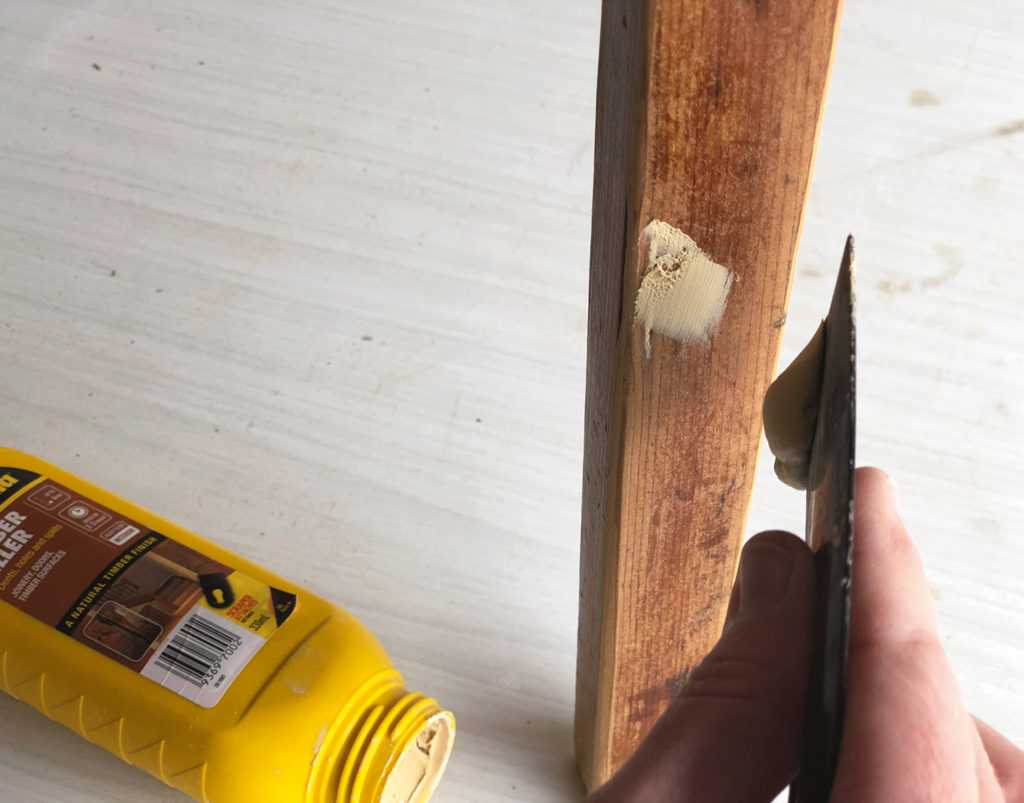
Smooth over dents and deep scratches with timber filler, and leave to dry. Use the 120-grit sandpaper and sanding block to remove chipped paint or flaking varnish, dirt and scratches, then repeat with the 180-grit for a silky finish. Wipe surfaces with a clean, slightly damp cloth to remove dust and ensure paint adheres evenly.
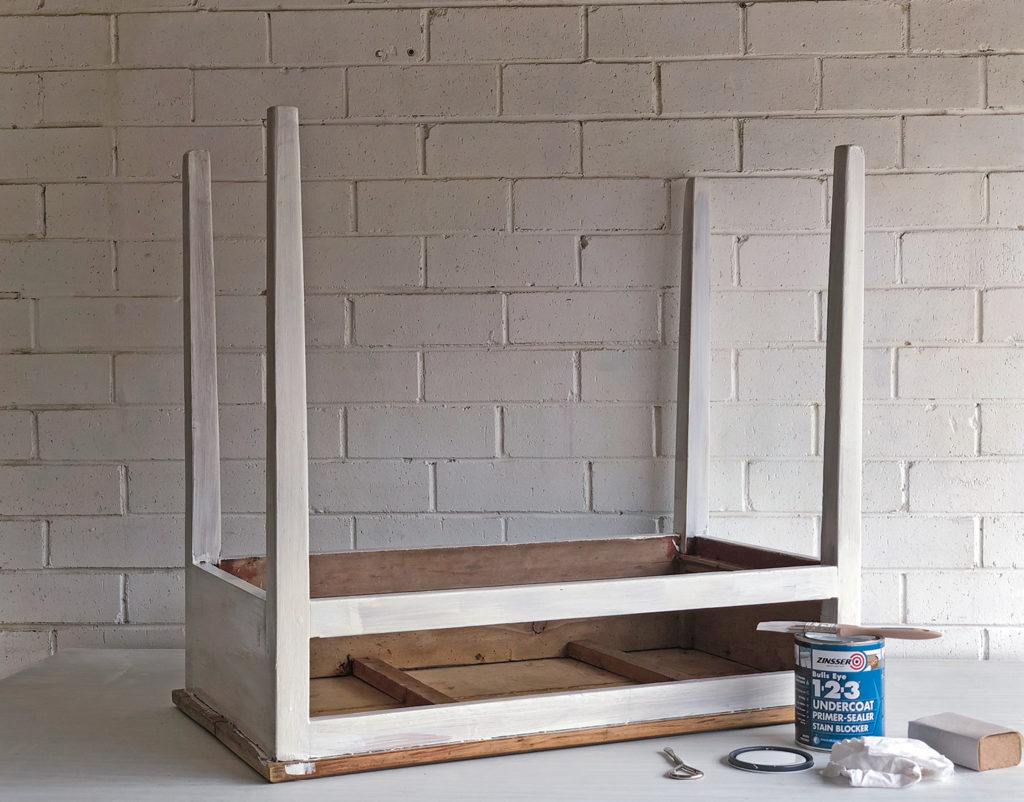
Brush three-in-one primer over all surfaces of the old timber console that need to be painted – don’t forget the inside of the drawer. Leave to dry. Give the paint a good stir to distribute heavy particles, then pour into tray. Use the mini roller with micro fibre covers to apply the first coat of paint to the console, leave to dry, then repeat.
Before you remove the backing of the adhesive film, match up the printed pattern and centre the join in the middle of the table. Make a small snip at the side to mark where you’ll need to cut.
Follow grid marks on the backing paper to cut each piece for your console – how many pieces you will need will depend on the size of the piece. Mark the orientation on the back of the adhesive film so you know exactly where to position each piece you’ve cut. To cover the drawer face, position the piece so it folds into the drawer at the front and wraps around either side of the drawer by at least 25mm.
To cover the tabletop, take the adhesive film and pull the backing away by about 50mm from the front edge of the table top, checking it’s straight on both sides. Gradually pull the backing paper from underneath the film while pushing from the top with a plastic scraper. Use the scraper to tuck film under the tabletop and trim away excess with a utility knife.
For the drawer, tuck the underneath edge into the joint to ensure the drawer opens smoothly. Fold corners in the same way you’d wrap a gift, pushing one side flat then folding the top section over adhesive side down.
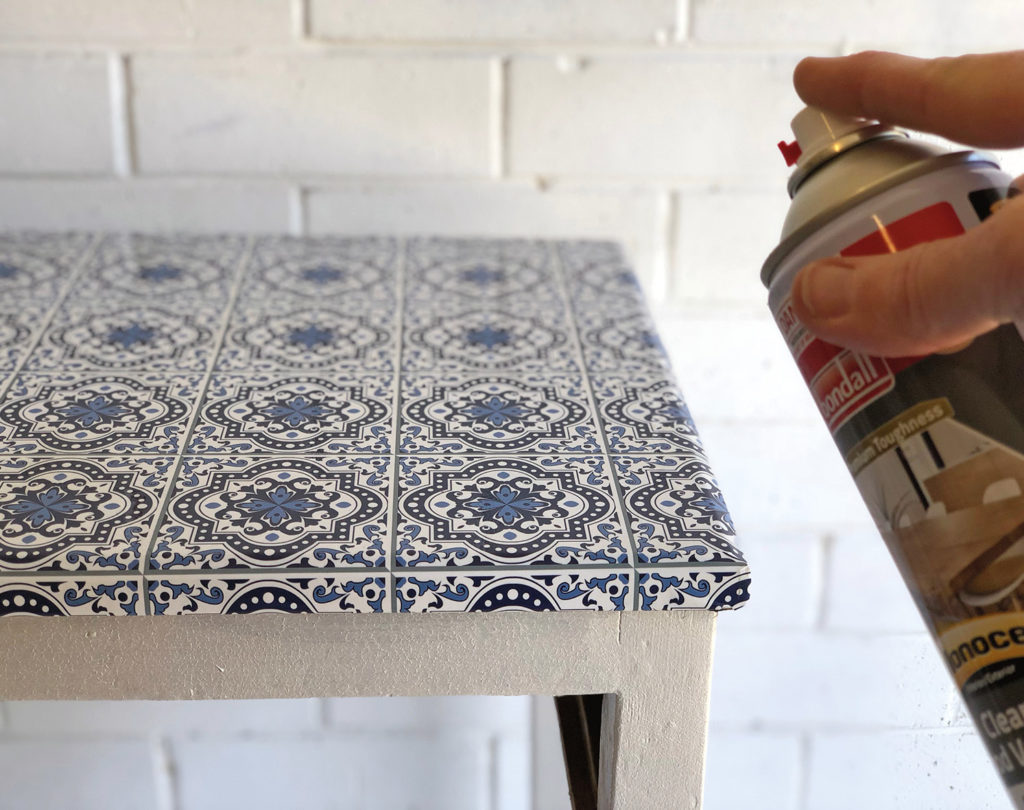
Wipe over the film to remove any dust. Shake the can of varnish. Hold it about 250mm away from the console, then apply a light, even coat. Let it dry before you apply a second coat. Varnish helps to seal the join and protect against moisture damage.
To attach the handles, measure halfway down the drawer front and 150mm from either side, then use the drill with the 4.5mm bit to make the holes. Mark the screw length, snap to size, then attach the handles, tightening with a screwdriver.
Pro tip: Used on furniture, adhesive film is here for a good time, not a long time. Fit a glass top if the table will see heavy traffic. Touch up corners with glue to help it last.


