With winter in full swing, it’s time to propagate hardwood cuttings. Producing new plants from old is an inexpensive way of establishing your garden. Propagating your own plants is a rewarding pastime, one which can be as simple or as complex as your time and enthusiasm allows.
Hardwood cuttings are suited to plants such as deciduous trees, shrubs and climbers, and also fruiting plants and canes (e.g. raspberries).

Hardwood cuttings are generally more forgiving than other types of cuttings; this is because the material is dormant and free of foliage, making it less prone to dehydration. Many plant species don’t require additional heating either, making it easier for backyard gardeners. Unlike soft and semi-hardwood cuttings, you can store hardwood cutting material in the fridge for up to a month without any ill effects.
These handy tips will help get you started with hardwood cuttings but are by no means exhaustive:
When? This is dependent on plant species and may be right after leaf fall in autumn through to late winter before bud burst.
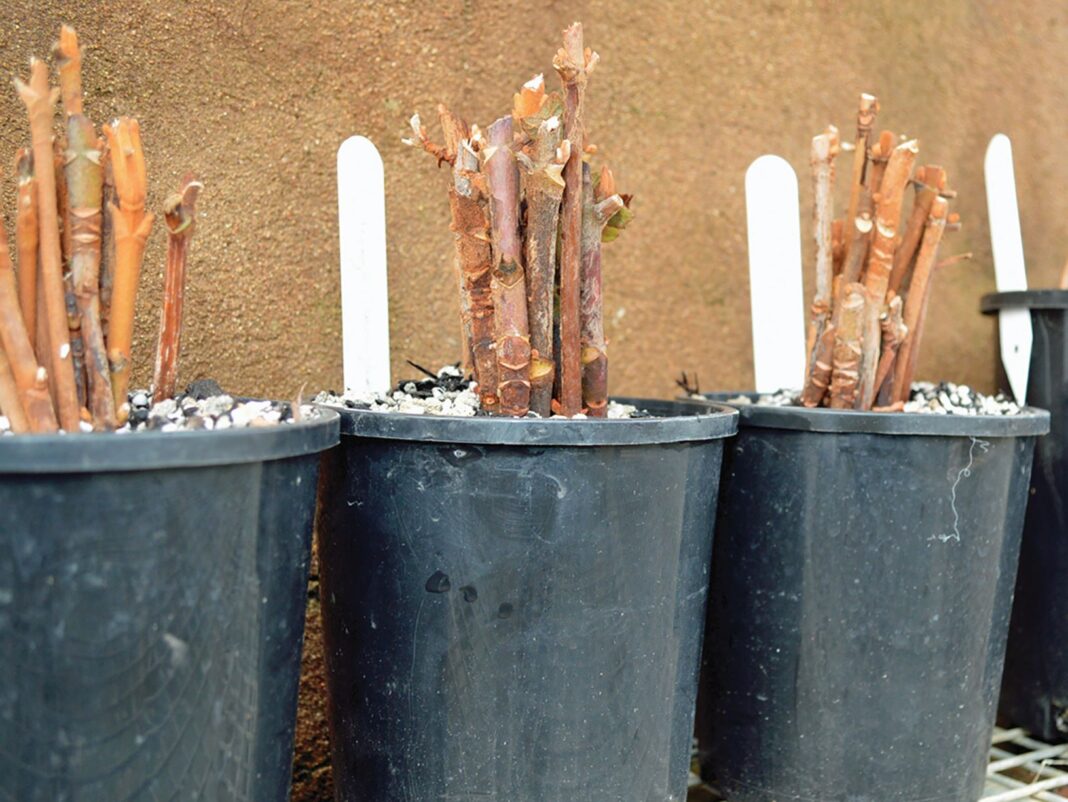
Where? Hardwood cuttings can be housed as long-term specimens in pots, in bundles to be transplanted once callouses have formed at root nodes, in situ in the garden, or planted into well-drained trenches and transplanted once rooted out. A relatively warm, protected position is advantageous for potted and in-ground cuttings.
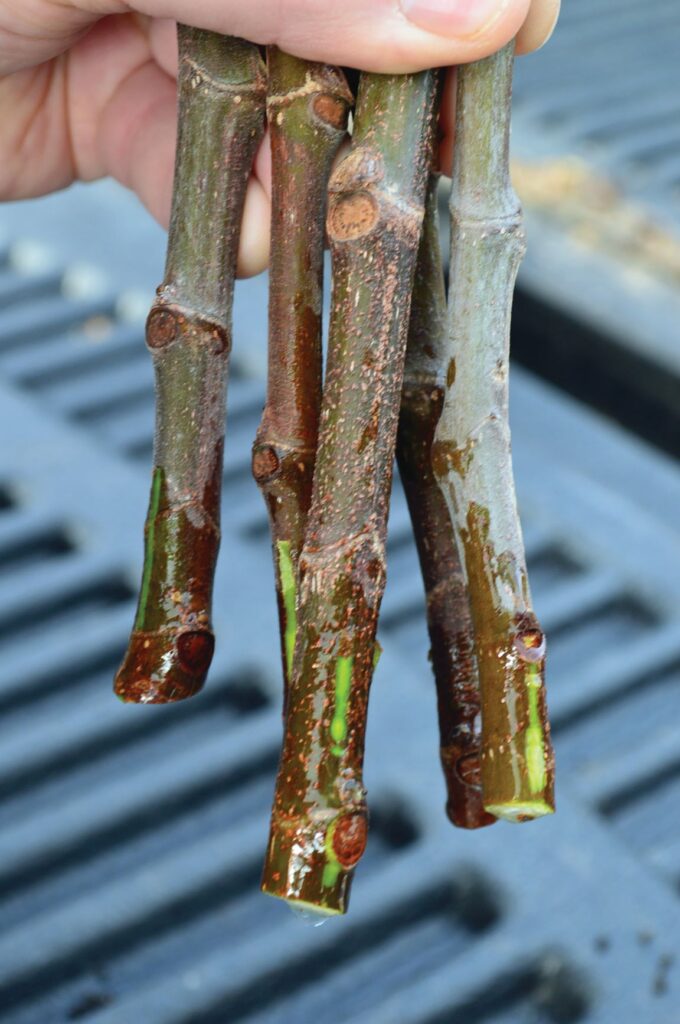
How? Hardwood cuttings are approximately 15-30cm in length and are taken from mature one-year-old wood. Material should be healthy. Use clean, sharp bypass secateurs as opposed to anvil-style ones, which tend to crush the stem.
Top of cutting: Cut on a 45-degree angle above the bud, taking care not to damage it (if buds are opposite the cut should be horizontal). Bottom of cutting: make a horizontal cut directly below a bud.
Dip bottom of cutting in hormone gel/powder designed for hardwood cuttings. Hormone is not necessary for many species so research beforehand. As a safeguard, you can also dip cutting in a fungal powder to help prevent rotting before roots begin to form.
Plant at least two plant nodes of the cutting below the ground. Use a quality propagation mix/soil and keep moist but not wet.
Label cuttings with date, plant type and quantity. Record any relevant information in your gardening diary for future reference.
Handy tips
- Research the plant species you intend on propagating to best meet its individual needs and obtain the highest possible strike rate.
- Hardwood cuttings take significantly longer than soft or semi-hardwood cuttings as they are dormant, so be patient and diligent in keeping an eye on them.
- Take more cuttings than required to cover potential losses. It will depend on the difficulty of a species as to how many extras you will need.
- Lastly, watch you don’t plant your cuttings upside down!
More stories:


